If I tell you I was going to write about pull-apart cinnamon bread this week, will you turn away from a relatively boring (in comparison) post about milk loaf? At the beginning of the month, when I was organising the recipes I would make, I wanted to make cinnamon bread. I really did. But this week, the last thing I wanted to eat was cinnamon bread. I know right? Who does not want to eat cinnamon bread all the time? Well that was me this week. And, because this space is really about my life and the food I eat, I didn’t want to make something just because I said I would. Who would eat it? So there’s no cinnamon bread here today. Instead there is milk loaf.
I actually didn’t think there would be a recipe here this week at all. When it got to Wednesday I was still busy rewriting Chapter Two of my thesis. I had set a deadline for Wednesday to get it done and I was determined, no matter the hour, to finish it then. I did, finally, at around 11.30pm. So there was no opportunity to make anything or to blog on Wednesday. The rest of the week was spent recipe testing for Florentine, a new book by Emiko Davies, a food writer. Ages ago, via Instagram, I offered to test some of the recipes and this week I finally got round to doing so. But as a result, I wasn’t really in the mood to do any of my own recipe development for here. I figured I’d write about how fun recipe testing had turned out to be. How challenging it was to have to focus on actually following the recipe, rather than automatically looking at what could be adapted or changed. Actually measuring one teaspoon of vanilla, rather than pouring it in by sight; paying attention to baking times, rather than waiting to smell when something is done; the sequence of steps and the equipment needed (you mean I can’t simply put this cake batter into a round tin? It has to be rectangular? Really?). It was great. But I can’t share the recipes I made on here so I figured it’d be a non-recipe post. But then today I made a batch of marmalade (Seville’s are back in season! Yay!) and I figured it might be good to have fresh bread for toast in the morning. So I made this milk loaf.
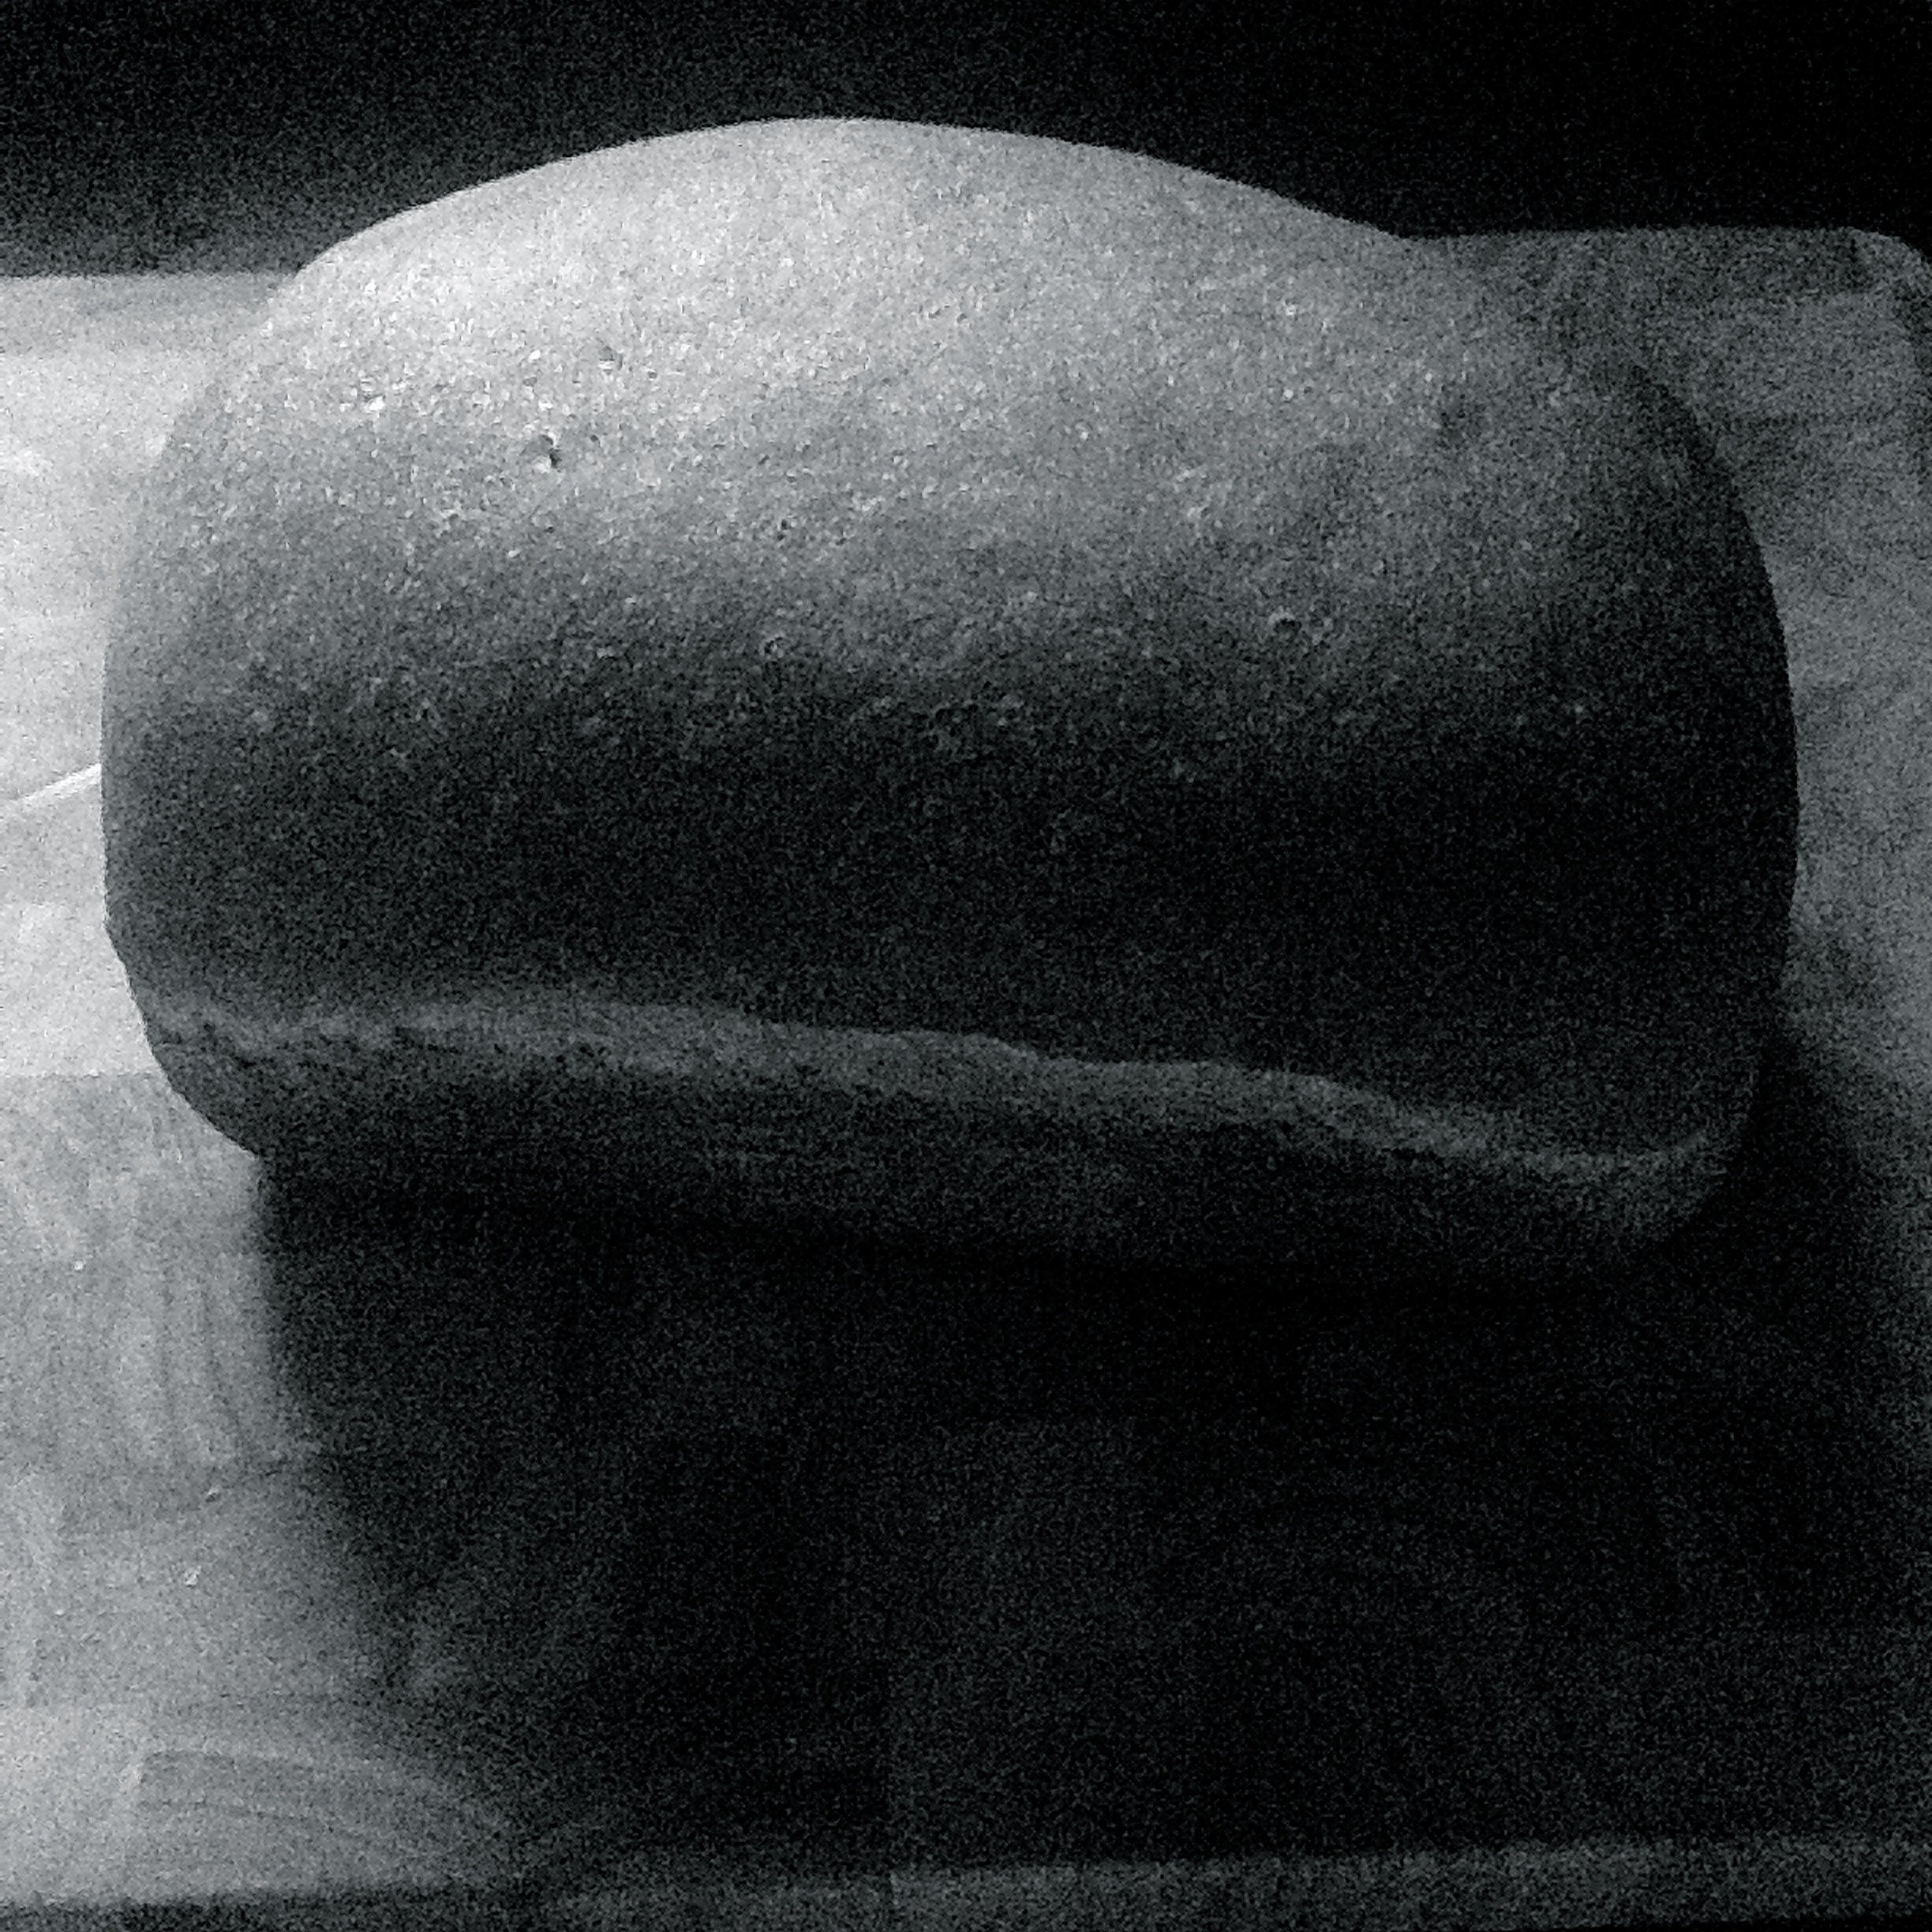
I’m slightly obsessed with this loaf at the moment. I think I go through stages of loving different breads. For ages it was sourdough. Now it’s this milk loaf. It’s easy to make. Dense and chewy in texture. Toasts well. Lasts the week. The recipe comes from Delicious magazine. I subscribe to their newsletter (as well as the print magazine) and this loaf was featured in one newsletter recently. I love making my own bread so I decided to give it a whirl last Sunday. I’ve been eating slices for breakfast all week and now that there is marmalade again, I suspect I’ll be eating this combination for a while. I changed the method slightly (as well as using more milk), only because I am a lazy baker and prefer for things to be as easy as possible. Thus, instead of rubbing the butter into the flour, I simply melt it whilst heating the milk. It cuts out a step and opens, I think, the possibility of turning this into a brown butter loaf…. Mmm. Now there’s an idea. I also added in a second proof. The original recipe only proofs the dough once but I’m always skeptical of such things, having been taught that breads should be proofed twice. So I proof it twice. Just in case. (And because you get the satisfaction of punching down the dough.)
Milk Loaf
Adapted from Delicious Magazine
750g strong white flour
7g instant yeast
2 tsp salt
1 tbsp caster sugar
75g unsalted butter
350ml milk
Place the flour in a large bowl. Add in the yeast on one side and the sugar and salt on another side. You don’t want the yeast to come into contact with the salt and sugar until you’re ready to add in your liquids as you risk the sugar/salt killing the yeast. (Which, let’s face it, would be a tragedy*!)

Place the milk and butter in a saucepan and heat over a medium heat until the milk is warm. Switch off the heat and leave it for a few minutes so that the butter melts. Give it a stir. Test the temperature with your finger. You don’t want it to be hot – body temperature is good. Stir the flour, salt, sugar and yeast together. Add in the milk. Using either a wooden spoon or your hands, bring everything together to form a dough. If there isn’t enough liquid to do so, add in some warm water.


Form the dough into a ball. Knead lightly for five to ten minutes until the dough is smooth and elastic. Place into the bowl and cover with clingfilm. Leave in a warm place to proof until double in size – about an hour. (I put the bowl into my oven, with the oven light on and a tray of hot water on the floor of the oven. This creates a warm, moist atmosphere that makes the dough extraordinarily happy.)
When the dough has doubled in size, punch it down and shape it into a log. Grease a loaf tin with some oil and place the log into it. Cover loosely with a tea towel and proof again for half an hour – the dough should rise up beyond the tin level.


Preheat the oven to 200C. Cook the loaf for half an hour – until dark golden brown on top and hollow-sounding when tapped.


Turn out onto a wire rack and cool completely before eating.
*If you are of the same era as me, perhaps the word tragedy! (with the exclamation mark after it) reminds you of that song by Steps. I remember once doing the coordinated dance moves on a stage at some formal dance I went to in my final year of school. In case you have forgotten, here’s a link to the music video… (Also, this video be cray-cray.)

No kneading? or did I miss that,,, I havent had my coffe yet,, 🙂
Good spot! You knead it lightly once the dough is formed! Only for five to ten minutes, until it is mostly smooth! I’ll fix the instructions to reflect that! Thanks!
Thanks,, I read it a few times just to make sure!! Lol,,, now I’ve had my coffee,,,
What does “proofing” the dough mean? I am not a normal baker and this wording made me curios.
Proofing or ‘to prove’ is the word bakers use when they leave the dough to rise. It is the time you let the gluten in the dough relax and the yeast starts to breed and expand. You normally proof a dough twice. The first is once the dough is formed and is normally done for an hour or until the dough has doubled in size. It is the doubling in size that is important, rather than the time so depending on conditions (warmth/moisture) this may take longer. This time allows the dough to relax and makes shaping it much easier. The second proof is once the dough is shaped and in whatever container you choose to bake it in. Proofing allows the dough to develop structure, aerates the bread and gives volume to your final bread. If you skip proofing or don’t proof the dough long enough you may end up with something hard, with a dense texture that isn’t great to eat!